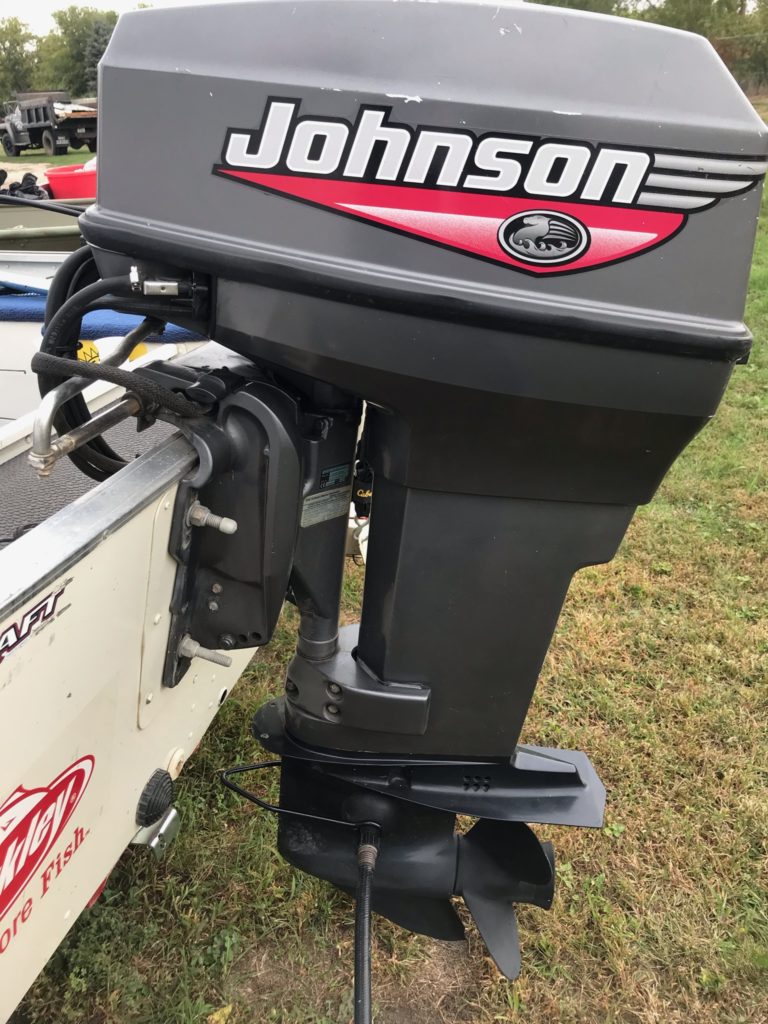
Winterizing your outboard motor, is something all anglers and boaters should do before putting them away for winter. This motor, with the muffs and hose attached, whose owner is following the steps and methods in this column, will be ready to go as spring approaches and one of the first boats on the water this next spring.
Whether we’re ready for it or not, winter isn’t far away, and it’s time to start thinking about getting your boat ready to store for the winter.
It’s important that you winterize your outboard for off-season storage. By winterizing your outboard, you’ll help ensure that your outboard is ready when you’re ready to go fishing next spring.
You can have your motor winterize by your local Marine dealers and generally for a reasonable rate or you can winterize your outboard yourself and after talking with several experts, below are several steps they gave me on how to correctly winterize your outboard.
Step 1: You’ll want to flush your engine with clean, fresh water and let the water completely drain from the engine, washing any dirt, grease, etc. from the exterior of the engine.
Make sure you have a sufficient water source as running your outboard without an adequate source of cooling water will result in severe damage to your outboard!
For smaller horsepower outboards, those between 2.5 & 3.5 hp. the simplest way to flush your outboard is by using a five-gallon or larger bucket of water.
Make sure it’s large enough to completely cover the water intake ports on the lower unit, also you’ll need to be sure that the bucket is wide enough so no part of the motor touches the sides/bottom of the bucket.
Mount your outboard on a heavy sawhorse or something similar that will allow safe operation of your outboard.
For the larger outboards, the 5 – 140 hp motors come equipped with a flushing plug which can be attached to a hose for flushing the engine with fresh water or you can purchase a set of “ear muffs” available at your local marine dealer or mass merchandiser.
It attaches to your garden hose and clamps on to your outboard’s lower unit, covering the water intake ports.
Turn the garden hose on full before starting your engine, these ear muffs will not work on some smaller 5 hp motors.
With a 5 hp you’ll need to either use the flushing plug or use the “bucket technique” as mentioned above.
Run your outboard at normal idle speed for 5-10 minutes to allow the engine to warm up and to ensure your outboard is thoroughly flushed with clean water.
Once you’ve flushed the outboard, allow the water to completely drain from the engine using Step 2 before you shut off your engine.
Your outboard should be in a vertical position, allowing the water to completely drain and while you’re waiting for your engine to drain, it’s a good idea to wipe off any dirt, grease, etc. from the exterior of the engine.
Step 2: Drain all fuel from the fuel hoses, fuel pump and carburetor and after completing the fresh water flush as mentioned above, disconnect the fuel line at the motor and continue running the motor until it runs out of gas.
It’s important that all of the fuel has been drained from the carburetor otherwise any fuel-oil mixture remaining will evaporate and leave deposits, the varnish, that gums up the carburetor.
In order to drain the fuel from the carburetor you can use one of these methods. Mentioned below.
As the fuel begins to run out and the motor starts to “die”, choke the engine a little until the RPM’s pick back up, keep choking the engine as the engine starts to die out until the fuel supply is finally exhausted, or you can remove the drain screw from the carburetor bowl allowing all fuel to drain out, then replacing the screw once you drained all of the gas out.
This method takes a little more time than the first, but it’s recommended to use this procedure to fully ensure that all fuel has been removed from your carburetor.
You’ll want to add fuel stabilizer to the fuel left in your tank, so it can be used the following season, also helping to prevent condensation from forming in your fuel tank.
If your outboard is not an oil-injected model where you mix your gas and oil, it’s recommended you don’t store the fuel for extended periods of time, as over time, the fuel and oil will separate that can lead to a lack of lubrication to your engine.
Step 3: Treat your outboard with storage oil, fogging oil, it comes in an aerosol spray can and is used to prevent rust in the boat motor and is available locally.
You’ll want to follow the oil manufacturer’s recommendation on the amount of storage oil to use, which is generally about 2 ounces for each cylinder.
Fogging your Engine
To fog the engine, remove the spark plugs and the kill switch lanyard cord from your outboard and it’s not a bad idea to disconnect the spark plug wires from the spark plugs to prevent accidental starting.
If you have a manual start outboard, slowly turn the engine over a few times using the pull cord while spraying the storage oil into the spark plug holes.
If you have electric start outboard, you’ll need to be sure you have water hooked up to your water intakes before turning over your outboard, preventing damage to your water pump.
Spray the storage oil into the spark plug holes, turn the engine over in 5 second bursts using your electric starter. Don’t over “crank” your engine or you could damage the electric starter.
Step 4: Also, you might want to apply water resistant grease to propeller shaft, using a wheel bearing grease or something similar, thoroughly grease the prop shaft and prop shaft threads.
Step 5: Change the gear oil in the lower unit, following the manufacturer’s tech tips.
Step 6: Apply water resistant grease to all moving parts, joints, bolts, nuts, and plastic fittings.
Step 7: To keep your motor looking new, you may want to wax the exterior of your outboard using a high-grade automobile wax.
Step 8: No Matter how you store your motor, you’ll want to make sure that the motor is stored vertically.
Battery Storage
Step 1: Disconnect the battery cables and clean the battery terminals using a wire brush.
Step 2: Next, recharge the battery to full strength, and it’s a good idea to recharge your batteries once a month during the off-season to prevent electrical discharge and degradation of the electrolytes.
Step 3: Wipe down the outside of the battery.
Step 4: Apply grease, with Vaseline working well, to the battery terminals to prevent corrosion.
Step 5: Store your battery in a dry place and if you plan on storing it someplace with a concrete floor, to set it on wood, so the battery isn’t setting right on the concrete.
If you follow the above mentioned steps, you’ll be way ahead of the game when it comes time to get your boat ready for the spring fishing season.
Gary Howey is an award-winning writer, producer, and broadcaster who was inducted into the “National Freshwater Fishing Hall of Fame” in 2017. He developed and was the Producer- Host of the Outdoorsmen Adventures television series for 23 years and is the Co-Host of the award-winning Outdoor Adventures radio show. If you’re looking for more outdoor information, check out garyhoweysoutdoors.com, and outdoorsmenadventures.com, with more information on these pages, Gary Howey’s Facebook page, Outdoor Adventure radio and Team Outdoorsmen Productions Facebook page. The Outdoor Adventures television show is available on the MIDCO Sports Network, and News Channel Nebraska.


0 Comments